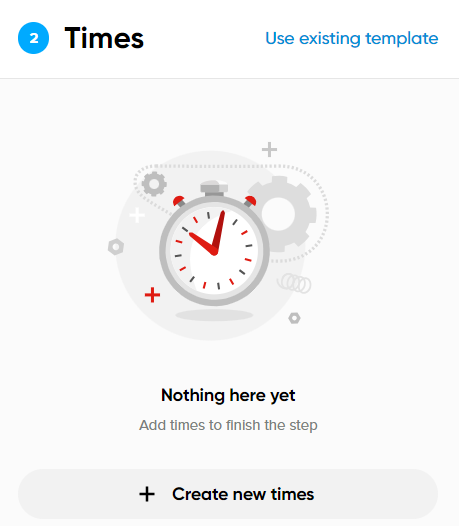
Time Periods are time sets that represent more specific time definition than dates.
The time sets can be set for the hours of the day in which the analysis results will be presented. The time sets are useful to create comparison sets, such as morning rush hours versus evening rush hours, or typical week values against weekend patterns.
Keep in mind!! When selecting time sets in a report, the time will reflect the timezone of the area where the data is being extracted from (wherever your route or area is created)
To add the time ranges click “Create new times” or “Use existing template” in case you have previously saved one.

Follow these steps to add the time sets:
1. Click '+' to add a time set.
2. Select the hours for every time set by clicking the rows on the right. The drop down arrow allows adding in 15 minute increments. You can unselect a time by clicking it again.
Maximum Number of Timesets: 24

Important Note! When selecting time sets: the left side is inclusive, the right side is exclusive, so to avoid duplicates and not miss anything, set your time as followed, 00:00-01:00, ... , 23:00-24:00
There is also an "Advanced Mode" toggle within this step. Advanced mode allows you to set more customizable sets.


Once all times have been set, it is possible to edit, set as base time set, or delete the time range by clicking the 3 dots to the right of the corresponding time set.
The name of the time set can be changed, any time set can be made into the base time set (indicated by the star next to the time set), or deleted.

4. Once all time sets are customized, click “Add to report”.
5. Click “Next” to move to the next step.
